For anyone passing through, this is probably my last post here!
Between tumblr and the Nexus sites, I'm just waaay to lazy to be everywhere.
I'm likely done modding mass effect as well, at least for now.
This blog will remain as an information resource.
If you're looking for more of my mods or just to get in contact:
I'm on the Nexus sites as ELE08.
You can find me on tumblr as Ellementalist.
Thank you to everyone who has used my mods or sent me kind words. I loved seeing all you've done with your games and your awesome Shepards and hope people continue to mod and have fun.
-Ele
Friday, June 27, 2014
Sunday, March 2, 2014
How to convert and individually install ME3 mods in PCC format
A lot of older mods for Mass Effect 3 are PCC install instead of .mods, meaning they overwrite anything you already have installed in a particular PCC file. This is particularly troublesome with clothing and armor mods, where you want to use more than one at a time.
This is a guide to convert any PCC format mods into mesh .mods that replace individual outfits/hair/etc., instead of the entire file.
This is a guide to convert any PCC format mods into mesh .mods that replace individual outfits/hair/etc., instead of the entire file.
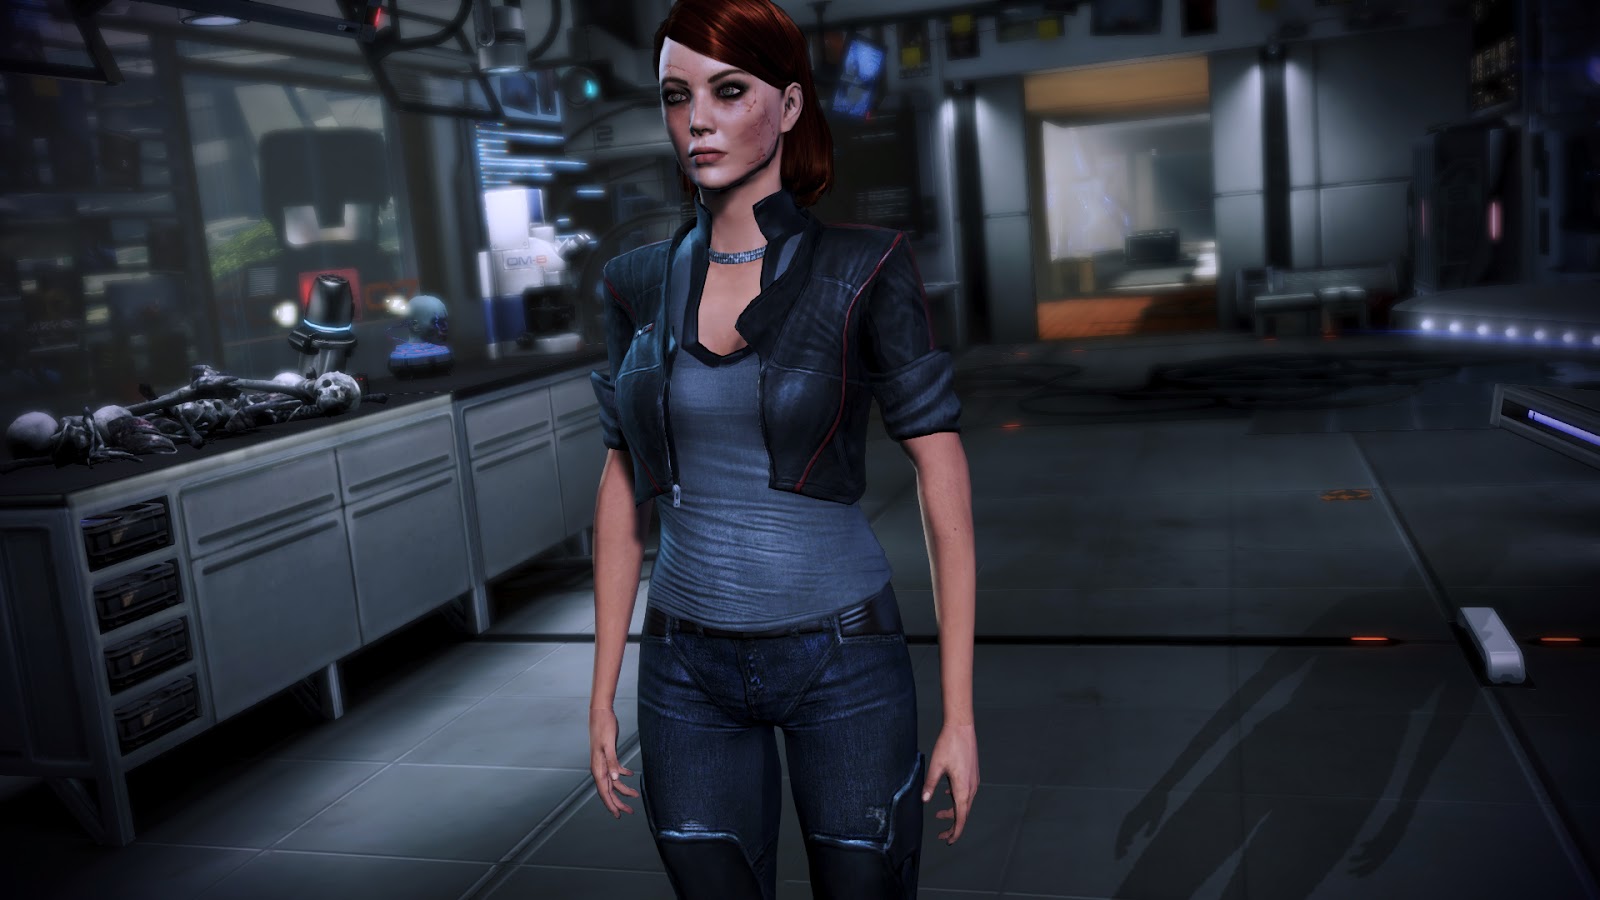
I'm going to use the N7 Leather Jacket for Femshep made by firemadeflesh on tumblr as an example.
In this example, when you download the mod, you have 2 files:
The PCC which contains all the clothing in the game for Femshep
and the tpf which has the modded textures for the outfit you are installing.
1. Open the PCC in Meshplorer
Find the modded outfit. All we're doing here is marking down it's ID number.
(here it is 1633)
Close Meshplorer.
2. Open the same PCC in PCC Editor 2.0
In the list find the ID number you marked down in Meshplorer.
Select it on the left and in the Modmaking menu select 'Create Binary Replace Job from Object' - a 'done' window will pop up.
You can close PCC Editor 2.0.
3. Open Mod Maker.
You should see your mesh replacement job already in the window.
Now just File -> Save Jobs -> All
It will prompt you to save your .mod installer for your mesh.
--
Now you can run the job now, or load it later to install your outfit (or armor or hair or whatever you were converting) and it won't overwrite any of the other mods you have installed already (unless it's replacing the same slot.)
TO INSTALL THE TEXTURES
You can either use the tpf with Texmod as intended, or install the textures permanently using TPF Tool. Ottemis has a detailed guide on TPF Tools here.
In the case of the Nilin N7 Leather Jacket, only 1 of the textures of the 4 is in the correct format for the game files, so to permanently install I had to do some extra changes to them in Photoshop, but that is beyond the scope of this tut! Hopefully the mod you are attempting to convert has textures already in the correct format to install.
 |
| Success! |
Thursday, January 16, 2014
ME3 Character Texture Overhaul
DOWNLOAD for texmod
Install textures permanently using ME3Explorer's TPF Tools. Guide by Ottemis.
This mod aims to make the characters in Mass Effect 3 look higher res and more life-like.
I have replaced most of the textures in the character creator, which covers custom Shepard (male and female) and many NPCs.
I have reduced the appearance of the hairline seam as much as possible, but it may still be apparent in some lighting.
If you are using a custom face texture on Shepard, load that Texmod higher than mine so it overwrites. If possible, I recommend replacing default Shepard's face textures and applying them to custom Shepard with Gibbed save editor to avoid conflict.
Bundled with Eyelashes by Eranen
Alternate download on the Nexus
Subscribe to:
Posts (Atom)


